A modern garage door hardware upgrade is defined as replacing or adding mechanical and aesthetic components to improve performance, appearance, and energy efficiency without replacing the entire door. The key components include smart openers from brands like LiftMaster and Chamberlain, quiet nylon rollers, decorative carriage-style hardware, insulated panels, and upgraded weather sealing. Upgrading these components offers a cost-effective system refresh when the door structure is still sound. The result is a quieter, better-looking, more energy-efficient door that adds real value to your home.
What are the essential components of a modern garage door hardware upgrade?
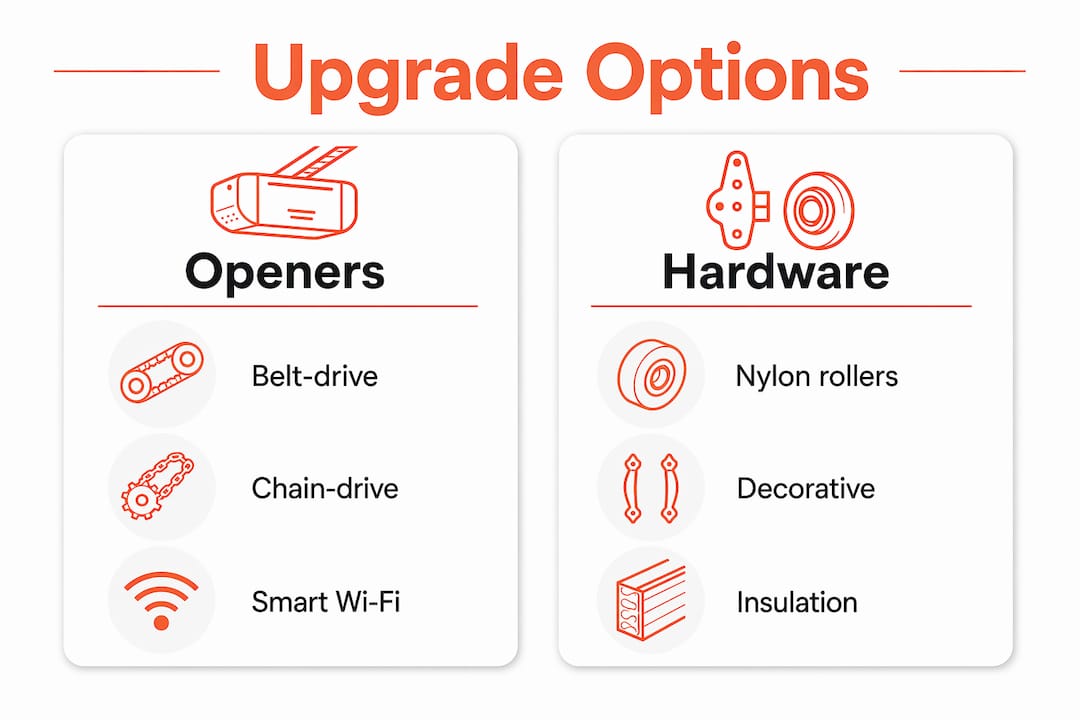
The four core upgrade categories are openers, rollers, decorative hardware, and insulation. Each one targets a different problem, and you can tackle them individually or as a bundle.
Smart garage door openers are the highest-impact single upgrade. LiftMaster’s belt-drive models and Chamberlain’s MyQ-enabled openers connect to your home Wi-Fi, let you monitor and control the door from your phone, and run far quieter than older chain-drive units. Many current models include battery backup, so a power outage does not strand your car inside.
Quiet nylon rollers replace the standard steel rollers that ship with most builder-grade doors. Nylon rollers reduce friction and travel noise noticeably, though springs, hinges, and track alignment also contribute to overall door noise. Replacing rollers alone will not silence a door with worn hinges or a misaligned track.
Decorative hardware kits use carriage-style handles and hinges made from weather-resistant ABS plastic with strong magnets. Magnetic kits attach without drilling, making installation fast and damage-free on steel doors. They deliver a significant curb appeal boost at low cost.
Insulation and weather sealing address two separate problems. R-value measures resistance to heat conduction through the panel. Weather stripping and threshold seals control air infiltration around the door’s perimeter. Seals control air infiltration while insulation controls heat conduction. You need both to see a real comfort improvement.
- Smart Wi-Fi opener with belt drive and battery backup
- Quiet nylon rollers (10-ball or 13-ball sealed bearings)
- Magnetic carriage-style decorative hardware kits
- Polyurethane or polystyrene insulation panels
- Perimeter weather stripping and door threshold seal
Pro Tip: Bundle a new opener, fresh rollers, and updated weather sealing together. Upgrade bundles like this typically cost 30–40% less than a full door replacement while addressing function, efficiency, and appearance at once.
How to assess your current garage door before upgrading
The door’s structural condition determines which upgrades make sense. A door with bent panels, cracked sections, or a warped frame is a replacement candidate, not an upgrade candidate. Putting a $400 smart opener on a structurally compromised door is money wasted.
Walk through this checklist before buying anything:
- Panels: No deep dents, cracks, or warping. Minor surface dents are cosmetic and acceptable.
- Rollers and hinges: Spin rollers by hand. Grinding, wobbling, or flat spots mean replacement is overdue.
- Springs: Visible rust, gaps in the coil, or a door that feels heavy when lifted manually signals worn springs. Spring replacement requires a professional.
- Track alignment: The vertical tracks should be plumb. Gaps between the roller and track rail indicate a tracking problem.
- Seals: Press the bottom seal against the floor. Daylight visible underneath means the threshold or bottom seal needs replacement.
- Insulation: Touch the interior panel surface in summer heat. A panel that feels hot to the touch has poor insulation or none at all.
The table below matches common symptoms to the right upgrade priority:
| Symptom | Upgrade priority |
|---|---|
| Loud grinding or rattling during operation | Rollers, hinges, and track alignment first |
| Door feels heavy or unbalanced | Spring inspection before any other upgrade |
| Drafts or temperature swings in garage | Weather stripping and threshold seal |
| High energy bills in conditioned garage | Insulation panel upgrade (R-value focus) |
| Outdated appearance, no smart features | Opener and decorative hardware |
| Worn bottom seal, water intrusion | Threshold seal replacement |
Match your decorative hardware style to the door material and panel design before ordering. Carriage-style hardware suits raised-panel steel doors well. Flush or full-view aluminum doors call for a cleaner, minimal hardware profile.
Step-by-step guide to installing key hardware upgrades
Work through upgrades in this order: safety-critical items first, then mechanical, then aesthetic.
-
Install the smart opener. Mount the rail and motor unit at the manufacturer’s specified height above the door header. Connect the belt drive to the door’s top bracket. Plug in the unit and run the Wi-Fi setup through the brand’s app. LiftMaster’s myQ app and Chamberlain’s myQ platform both walk you through this in under 15 minutes. Insert the backup battery if the model includes one.
-
Set the photoelectric safety sensors. UL 325 requires dual photo-eyes that stop and reverse the door when the beam is interrupted. Mount one sensor on each side of the door track, no higher than six inches from the floor. Align them until both indicator lights show solid green. Test by breaking the beam with your hand while the door closes. The door must reverse immediately.
-
Replace the rollers. Disconnect the opener and clamp the torsion spring cable drums to prevent accidental movement. Work one roller at a time: loosen the hinge bolt, slide out the old roller, insert the new nylon roller, and retighten. Worn rollers, hinges, and bearings have the biggest impact on smoothness and noise, so do not skip the bottom and top rollers even though they are harder to reach.
-
Upgrade the weather sealing. Replace the bottom rubber seal by sliding the new seal into the aluminum retainer channel at the door’s base. For the perimeter, peel off the old foam tape and press new vinyl bulb seal into the door stop on all three sides. If you have a conditioned garage, also check the garage door threshold seal on the floor. A good threshold seal stops water and drafts from entering under the door.
-
Attach the decorative hardware. Clean the door surface with isopropyl alcohol. Press each magnetic handle and hinge firmly into position. No drilling required on steel doors. Space the hinges evenly across each panel section for a balanced look.
Safety note: Never attempt to adjust or replace torsion springs yourself. Springs store enormous tension and can cause serious injury if released incorrectly. Call a licensed technician for any spring work before or after your other upgrades.
Pro Tip: After installing the new opener, run the door through five full open-and-close cycles and watch the rollers track through the curves. Any wobble at the curve means a roller seat is loose. Tighten it before regular use.
Comparing upgrade options: cost, durability, and performance
Not every upgrade delivers the same return. The table below compares the main options across the categories that matter most to homeowners.
| Upgrade type | Cost range | Durability | Noise impact | Energy impact |
|---|---|---|---|---|
| Belt-drive smart opener | $$$ | High (10+ years) | Major reduction | None direct |
| Quiet nylon rollers | $ | Moderate (5–7 years) | Moderate reduction | None direct |
| Magnetic decorative hardware | $ | Moderate (weather-dependent) | None | None |
| Polystyrene insulation panels | $$ | High | Minor | Moderate |
| Polyurethane core door panels | $$$ | Very high | Minor | High |
| Perimeter weather stripping | $ | Low (replace every 2–3 years) | Minor | High |
The 2024 IECC update raises thermal performance standards for conditioned garages, pushing homeowners toward polyurethane core panels over polystyrene. Polyurethane fills the panel cavity completely, delivering a higher R-value per inch and better structural rigidity. Polystyrene is cheaper but leaves air gaps that reduce real-world performance.
A high R-value alone does not prevent drafts. A door rated R-18 with worn perimeter seals still lets cold air pour in around the edges. Pair any insulation upgrade with fresh weather stripping to get the full benefit.
Magnetic decorative hardware is the lowest-cost visual upgrade available. It does not fix mechanical problems or sealing faults, but it transforms the look of a plain steel door in under an hour. For homeowners focused on top premium garage door upgrade options that balance aesthetics and function, combining magnetic hardware with a smart opener and fresh seals covers all three upgrade goals at once.
Key takeaways
A modern garage door hardware upgrade delivers the best results when it combines a smart opener, quiet rollers, upgraded sealing, and decorative accents rather than addressing any single component alone.
| Point | Details |
|---|---|
| Assess structure first | Only upgrade a door with sound panels, straight tracks, and functional springs. |
| Bundle for best value | Opener, rollers, and sealing together cost 30–40% less than full door replacement. |
| Separate insulation from sealing | R-value stops heat conduction; weather stripping stops air infiltration. Both are needed. |
| Safety sensors are non-negotiable | UL 325 requires dual photo-eyes on all modern residential openers. |
| Decorative hardware is fast and reversible | Magnetic carriage kits attach without drilling and can be repositioned at any time. |
Why I always recommend starting with the opener and rollers
After seeing hundreds of garage doors in Central Texas, the pattern is consistent. Homeowners who upgrade only the aesthetics, say a new decorative hardware kit or a fresh coat of paint, are happy for about three weeks. Then the door starts grinding again and the novelty wears off fast. The upgrades that actually change how you feel about your garage every single day are the ones you hear and feel: a quiet belt-drive opener and smooth nylon rollers.
The opener is the most used mechanical device in most homes. It cycles thousands of times per year. Putting a quality LiftMaster or Chamberlain unit with Wi-Fi and battery backup on a door that was previously running a 20-year-old chain-drive opener is a genuinely dramatic improvement. You notice it the first morning.
Rollers are underrated. Most homeowners have never thought about them. But worn steel rollers on a steel track create that grinding, rattling sound that makes the whole house shake at 6 a.m. Swapping them for sealed nylon rollers takes about 45 minutes and costs very little. The difference is immediate.
My honest recommendation: start with the opener and rollers, then add weather sealing, then finish with decorative hardware if curb appeal matters to you. That sequence gives you the biggest functional improvement first and lets you spread the cost over time. If you have a conditioned garage or you are in a climate with real temperature swings, move the sealing upgrade up to step two. A drafty garage with a quiet opener is still a drafty garage.
One more thing: do not skip the safety sensor check after any opener installation. I have seen DIY installs where the sensors were mounted too high or misaligned. The door appeared to work fine until a child walked under it. UL 325 compliance is not a formality. It is the one part of this upgrade where there is no acceptable shortcut.
— Oded
Edge garage doors can handle the whole upgrade for you
Figuring out which upgrades your door actually needs takes time, and installing a smart opener or replacing rollers incorrectly can create new problems. Edge garage doors serves homeowners across Austin, Cedar Park, Leander, and surrounding Central Texas with honest diagnostics and premium hardware installations.
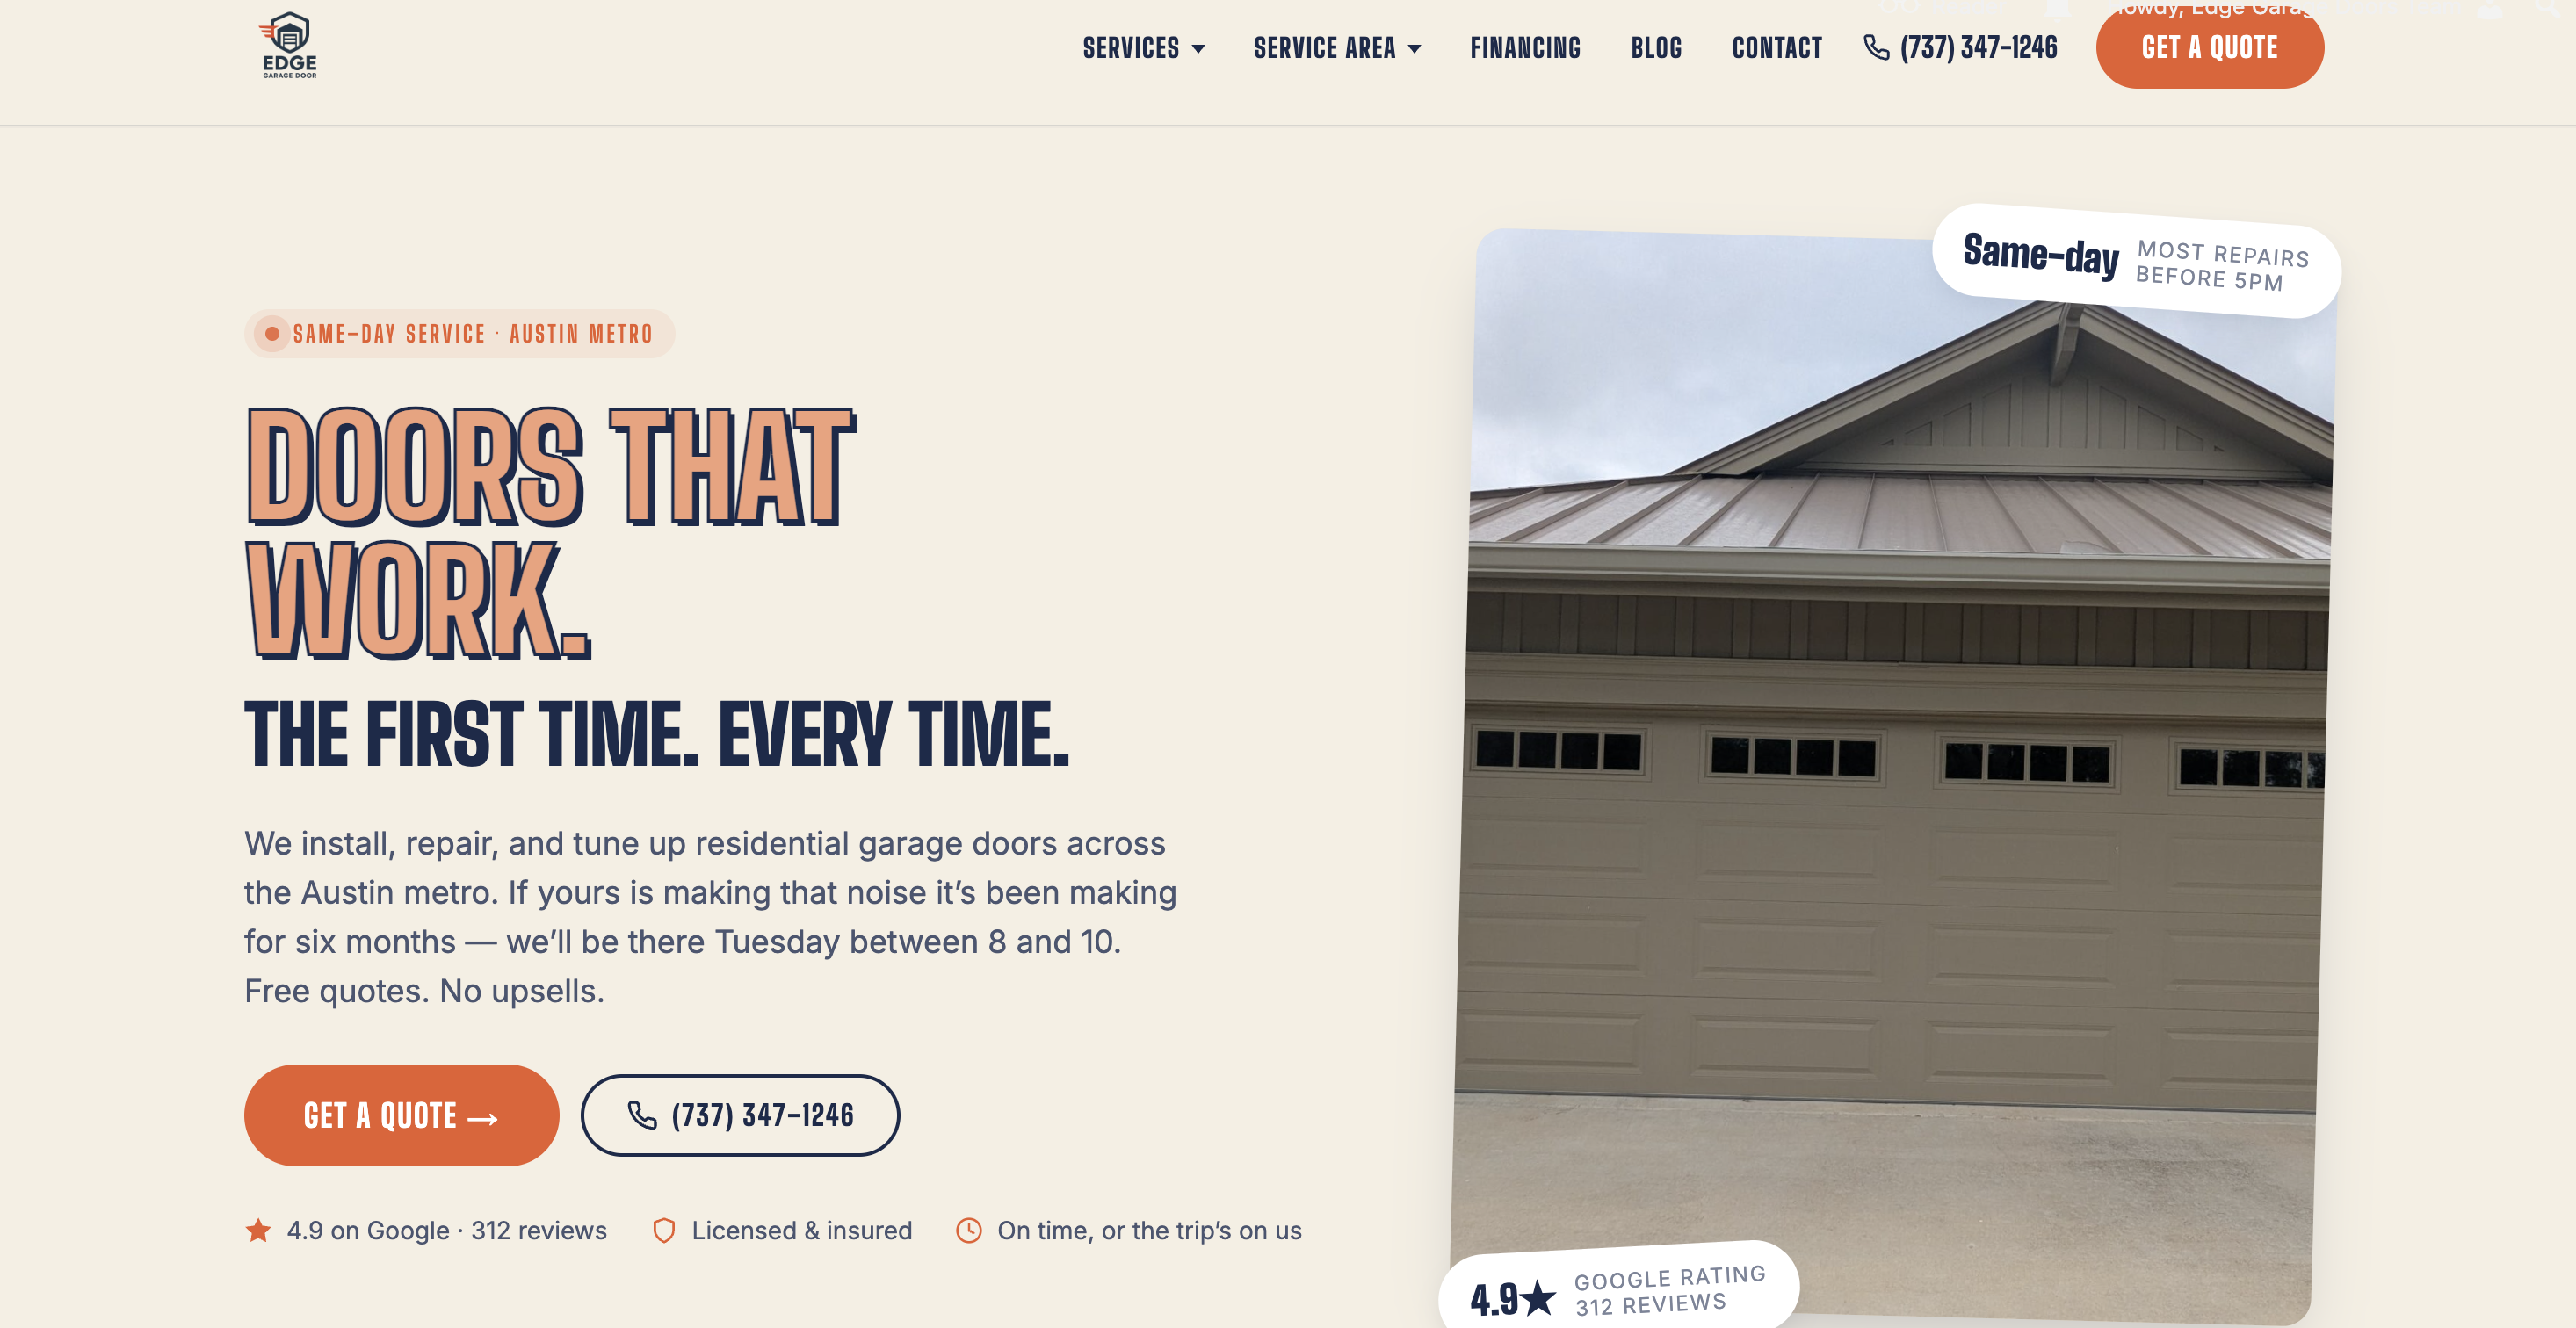
The team at Edge garage doors evaluates your current system and tells you exactly whether to repair or replace before recommending any upgrade path. From smart opener installation to weather sealing and decorative hardware, every job is done right the first time. No pressure, no upselling, just a garage door that works the way it should.
FAQ
What does a modern garage door hardware upgrade include?
A modern garage door hardware upgrade typically includes a smart Wi-Fi opener, quiet nylon rollers, decorative carriage-style hardware, and upgraded weather sealing or insulation panels. These components improve function, appearance, and energy efficiency without replacing the full door.
How much does a garage door hardware upgrade cost compared to full replacement?
Bundling a new opener, weather sealing, and decorative hardware typically costs 30–40% less than a full door replacement. Exact pricing depends on the opener model, insulation type, and labor involved.
Can I install magnetic decorative hardware myself?
Yes. Magnetic carriage-style hardware kits attach to steel doors without drilling and require only a clean surface and firm pressure to install. They do not address mechanical or sealing issues, so pair them with functional upgrades for a complete result.
What R-value should I look for in a garage door insulation upgrade?
The right R-value depends on whether your garage is conditioned space. The 2024 IECC raises thermal standards for conditioned garages, making polyurethane core panels the preferred choice. For unconditioned garages, polystyrene panels offer a cost-effective improvement.
Do I need a professional to install a smart garage door opener?
Most belt-drive smart openers are designed for DIY installation, but professional installation guarantees correct sensor alignment and UL 325 compliance. If your door has worn springs or track issues, resolve those with a technician before installing any new opener.